Adding and managing users
NAVIGATION My Account > Users
Users in myITprocess are individuals with a user account. This article describes how to create new user accounts and manage existing ones.
BEFORE YOU BEGIN Each user in the account is assigned a role that defines their permissions and determines the level of access they have across the user interface. Before creating users and assigning them to roles, refer to Configuring user roles and permissions to learn about the three default myITprocess roles (IT Provider Admin, vCIO, and Engineer) and how to create custom roles.
Users page
Users created in myITprocess appear in the list on the Users page.
This list displays the first name, last name, email address (which also serves as the username), role, last login date, and user status of each user.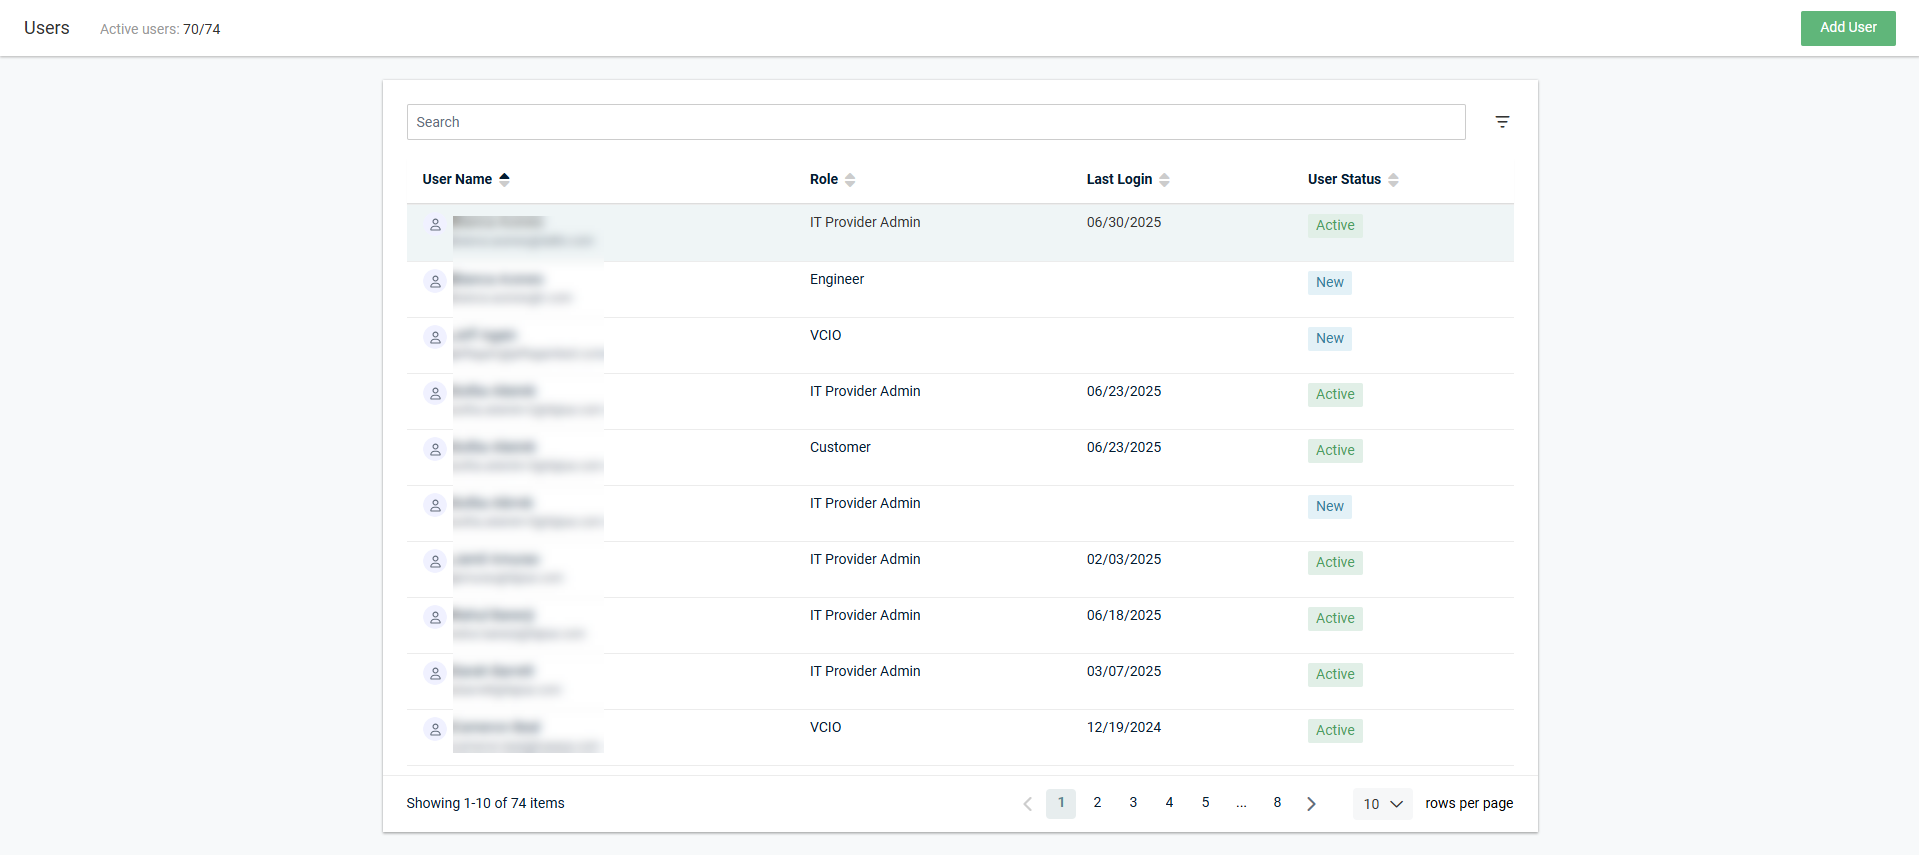
Searching, filtering, and sorting
You can search for a specific user in the list by entering their first name, last name, or email address (username) in the Search bar at the top of the page. The results are narrowed as you type.
You can filter the list of users by status (new, active, or deactivated), role(s), and last login date range by clicking the filter icon ![]() in the upper-right corner of the page. From one or more of the drop-down menus, select the applicable checkboxes to filter by. The results are automatically narrowed after selecting each checkbox. The filter selections persist the next time the page is accessed and can be individually cleared. To clear all filtering, click Reset.
in the upper-right corner of the page. From one or more of the drop-down menus, select the applicable checkboxes to filter by. The results are automatically narrowed after selecting each checkbox. The filter selections persist the next time the page is accessed and can be individually cleared. To clear all filtering, click Reset.
NOTE Selecting dates from both the From and To fields shows users who logged in between those dates, selecting a date from the From field only shows users who logged in on or after that date, and selecting a date from the To field only shows users who logged in on or before that date.
You can sort all columns in ascending or descending order.
You can select the number of results displayed per page and cycle through those pages using the pagination control in the lower-right corner of the page.
User statuses
The following table provides User Status field descriptions:
| User Status | Description | Available Actions | ||
|---|---|---|---|---|
| New | This user account was created, but the user has not yet activated their account via their email invitation. Refer to Logging in to myITprocess for the first time in Getting started with myITprocess. | Resend a user's invitation link | Deactivate a user account | |
| Active | This user account is currently active. | Reset a user's 2FA | ||
| Deactivated | This user account was deactivated but can be reactivated any time. | Reactivate a user account | ||
In the upper-left corner of the page, the number of users with the New or Active status out of the number of total users (including those with the Deactivated status) is displayed. When a user is deleted, these values are updated to reflect the deletion.
How to...
Complete the following steps to create a new user account:
- In the upper-right corner of the header, click your username (My Account) and select Users.
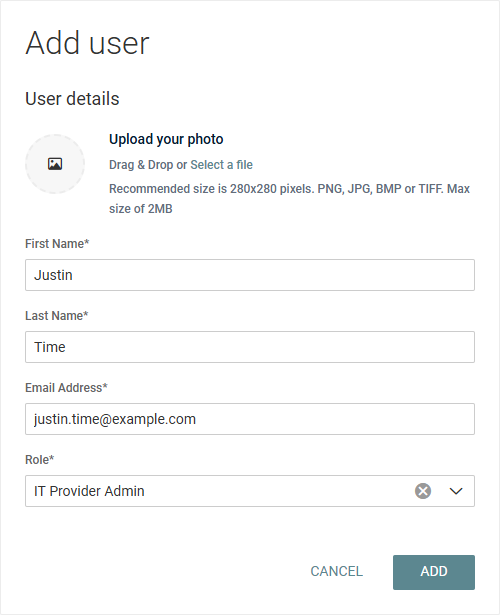
- In the upper-right corner of the page, click Add User.
- Optionally, upload a headshot of the user in the Upload your photo field (280 x 280 pixels recommended), which will show as the user's avatar throughout the user interface. The file must be saved to your local device. Click and drag the file into the upload box or click Select a file.
- Enter the user's first and last name.
- Enter the user’s company email address, which will serve as the username for their account and for login.
- From the Role drop-down menu, select a role to assign to the user. For details about roles and how to make additional custom roles available for selection, refer to Configuring user roles and permissions.
- Click Add.
myITprocess will send this user an account setup invitation to the email address entered in the preceding instructions, which expires after seven days but can be resent. Refer to Logging in to myITprocess for the first time in Getting started with myITprocess.
NOTE A user's email address/username cannot be changed within the user interface after initial configuration. If you require an email domain change and wish to retain access to existing user account data, submit a Kaseya Helpdesk request.
Complete the following steps to modify an existing user account:
- In the upper-right corner of the header, click your username (My Account) and select Users.
- Click the row of the user you want to view or edit to open the User details pane.
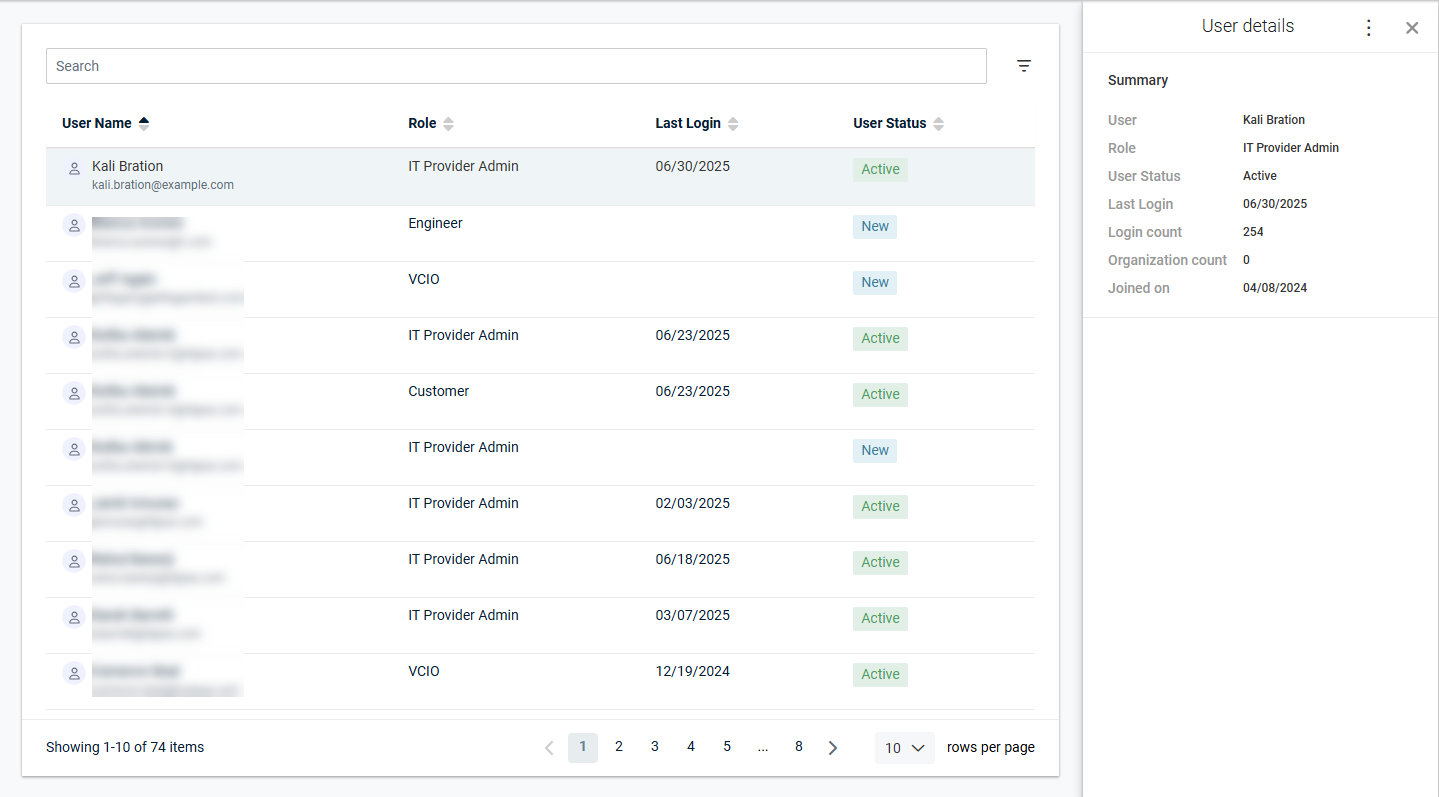
- From the three-dot menu
 in the upper-right corner of the pane, select Edit user details.
 - Edit the fields as required and click Save.
You may need to reset a user’s password if they forget their password, suspect it has been compromised, or are otherwise unable to log in to their account.
Complete the following steps to reset a user's password:
- In the upper-right corner of the header, click your username (My Account) and select Users.
- Click the row of the user you want to view or edit to open the User details pane.
- From the three-dot menu in the upper-right corner of the pane, select Reset password.
- Enter a new password for the user in both the New Password and Retype password fields.
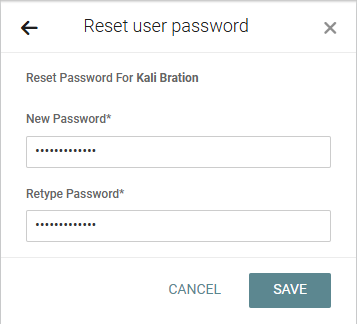
- Click Save to execute the password reset.
The change takes effect immediately. The user can no longer log in using their previous password and can only log in using the new password provided by the person who performed the reset.
If preferred, the user can change their password to one of their choosing in one of the following ways:
- On the login page, the user can click the Forgot your password? link. Refer to Reset your password in Managing passwords.
- After logging in using the password set by the other user, the user can select Change Password from the My Account menu in the header. Refer to Change your password in Managing passwords.
You may need to reset an active user’s two-factor authentication (2FA) if they lose access to their authentication device, replace their phone, or are otherwise unable to complete 2FA during login.
Complete the following steps to reset a user's 2FA:
- In the upper-right corner of the header, click your username (My Account) and select Users.
- Click the row of the user you want to view or edit to open the User details pane.
- From the three-dot menu in the upper-right corner of the pane, select Reset 2FA.
At this time, the user is notified by email that their 2FA has been reset and must be configured again at the next login.
The next time the user logs in, after entering their username and password, they are automatically prompted to set up 2FA to regain access to myITprocess.
If a user's latest myITprocess account invitation link has expired or is otherwise not accessible to them, complete the following steps to resend the user's invitation link to the email address associated with their myITprocess account:
- In the upper-right corner of the header, click your username (My Account) and select Users.
- Click the row of the user you want to view or edit to open the User details pane.
- From the three-dot menu in the upper-right corner of the pane, select Resend invitation link.
myITprocess will send this user another account setup invitation, which expires after seven days, to the email address associated with their account. Refer to Logging in to myITprocess for the first time in Getting started with myITprocess.
To deactivate a user who no longer requires access to myITprocess, complete the following steps:
- In the upper-right corner of the header, click your username (My Account) and select Users.
- Click the row of the user you want to view or edit to open the User details pane.
- From the three-dot menu in the upper-right corner of the pane, select Deactivate user.
- In the confirmation pop-up window, click Deactivate to deactivate the user account.
The user is no longer able to log in to their account, has a status of Deactivated in the list of users on the Users page, and can be reactivated any time.
Complete the following steps to reactivate a user account:
- In the upper-right corner of the header, click your username (My Account) and select Users.
- Click the row of the user you want to view or edit to open the User details pane.
- From the three-dot menu in the upper-right corner of the pane, select Activate user.
- In the confirmation pop-up window, click Activate to reactive the user account.
TIP To filter the list by deactivated users, click the filter icon ![]() in the upper-right corner of the page and select Deactivated in the User Status drop-down menu.
in the upper-right corner of the page and select Deactivated in the User Status drop-down menu.
The user is now able to log in to their account (which may require a password reset or 2FA setup), their account has a status of Active in the list of users on the Users page, and their user details can be edited as required.
IMPORTANT User deletion is permanent and cannot be undone. This option is available to help teams maintain GDPR compliance and ensure proper data hygiene.
While a deleted user can no longer access their account, their completed work is preserved as follows:
- Alignment reviews, QBR reports, and recommendations and feedback the deleted user is assigned to are preserved.
- In client-facing reports, the user’s name is removed, but the work and completion dates remain.
- Future meetings scheduled by the user are removed, while past meetings remain for reference.
To permanently delete a user who no longer requires access to myITprocess, complete the following steps:
- In the upper-right corner of the header, click your username (My Account) and select Users.
- Click the row of the user you want to view or edit to open the User details pane.
- From the three-dot menu in the upper-right corner of the pane, select Delete user.
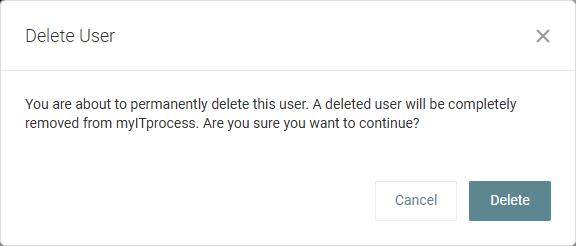
- If the user has no alignment reviews in progress, click Delete in the confirmation pop-up window to permanently remove the user.
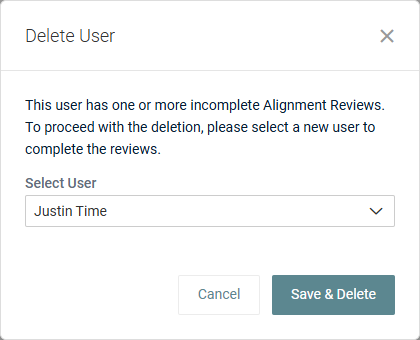
If the user has one or more alignment reviews in progress, select a different user to complete the reviews from the Select User drop-down menu, and then click Save & Delete to reassign the review(s) and permanently remove the user.
The user is no longer able to log in to their account, is removed from the list of users on the Users page, and cannot be reactivated.


