Using the QBR Report Builder
NAVIGATION QBR Report Builder
PERMISSIONS IT Provider Admin, vCIO, or custom role. Users with Read-only permission for QBR Report Builder can view, search, filter, and open reports and templates and export reports. Users with Full permission for QBR Report Builder can create, copy, modify, and delete reports and templates.
PERMISSIONS Access to organization data is determined by organization groups. Refer to Using organization groups.
The QBR Report Builder is an effective tool designed to consolidate and streamline quarterly business reviews (QBRs). By integrating data from multiple sources, it enables you to present consistent, insightful, and client-ready reports that foster transparency and trust.
QBR Report Builder page
The QBR Report Builder page contains two tabs: Reports and Templates.
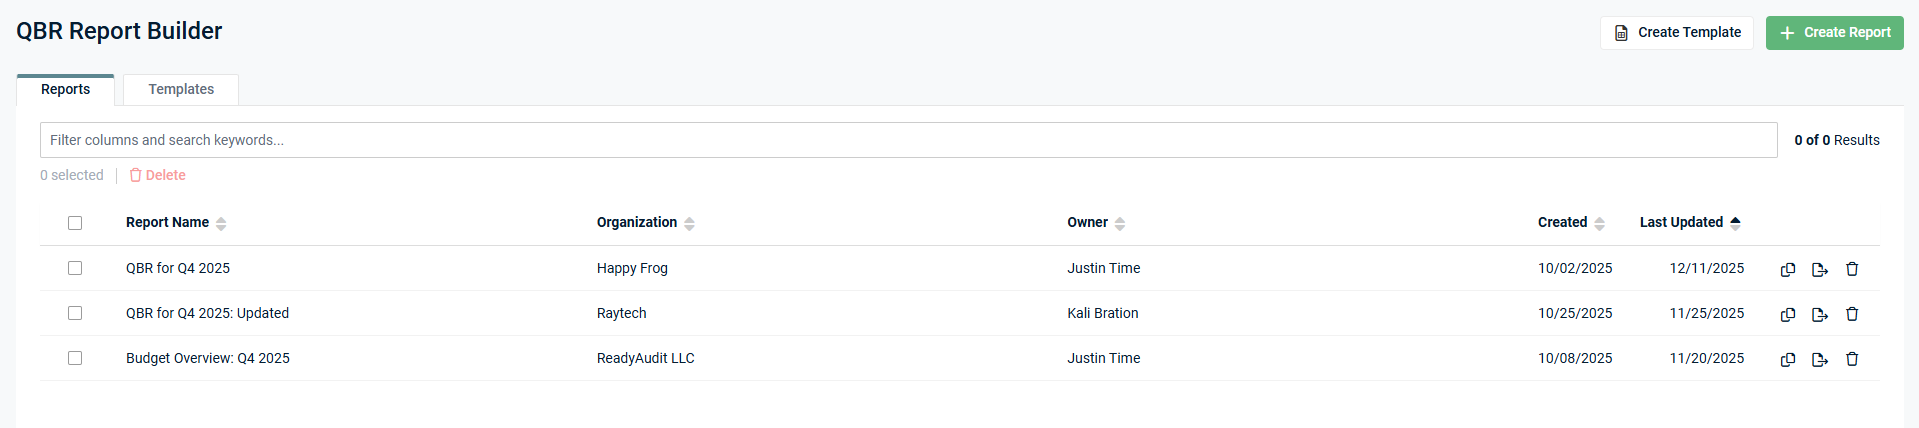
The Reports tab displays the list of saved QBR reports, including the following fields for each report:
| Field | Description |
|---|---|
| Report Name | The name of the report entered in the Report Name field. |
| Organization | The organization selected for the report upon report creation. |
| Owner | The user who initially created the report. |
| Created | The date on which the report was initially created by the owner. |
| Last Updated | The date on which the report was last edited by any user. |
Searching, filtering, and sorting
In the search bar at the top of the page, you can search/filter for a specific report or group of reports in the list by entering values from any of the fields. The results are narrowed as you type.
You can sort all columns in ascending or descending order.
You can select the number of results displayed per page and cycle through those pages using the pagination control in the lower-right corner of the page.
To learn how to create reports, refer to Create a QBR report.
QBR report templates allow you to create, save, and reuse structured layouts for QBR reports. Templates help standardize report structure and formatting so your team can quickly create consistent, professional reports across clients.
Templates can include predefined sections (preserving section types, names, and order), report widgets, and configuration settings.
NOTE Templates do not store report data or content. They only store the structure and configuration of the report.
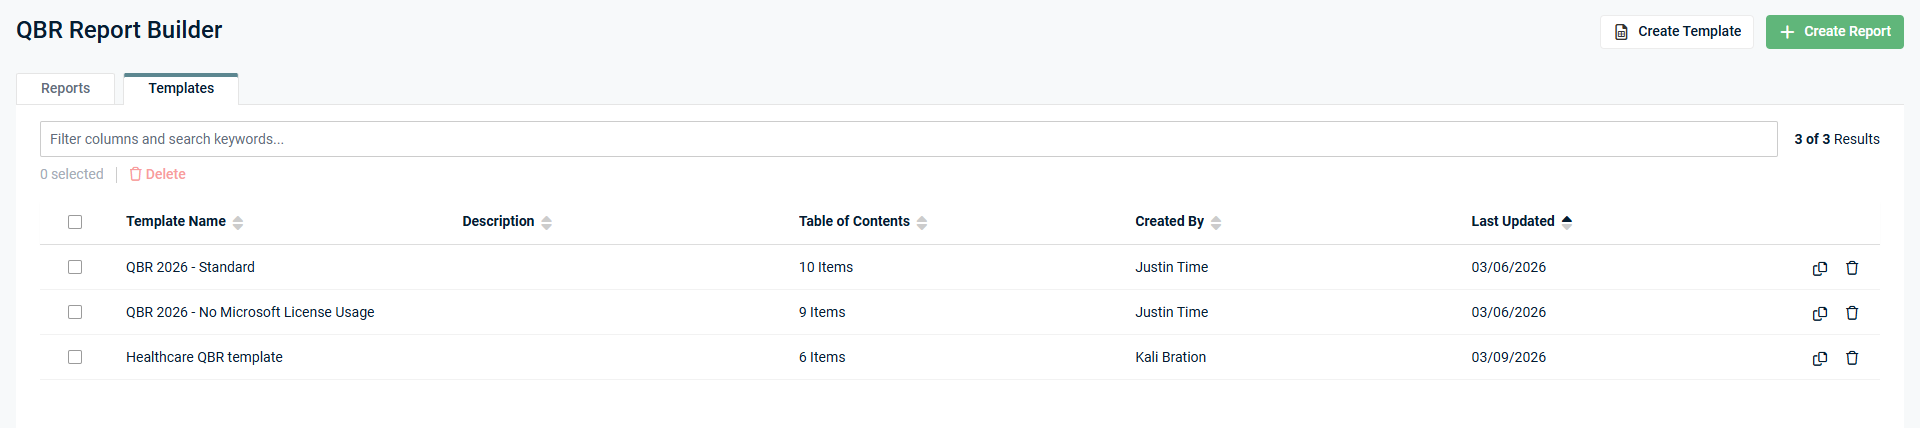
The Templates tab displays the list of saved QBR report templates, including the following fields for each template:
Searching, filtering, and sorting
In the search bar at the top of the page, you can search/filter for a specific template or group of templates in the list by entering values from any of the fields. The results are narrowed as you type.
You can sort all columns in ascending or descending order.
You can select the number of results displayed per page and cycle through those pages using the pagination control in the lower-right corner of the page.
To learn how to create templates, refer to Create a QBR report template.
Multi-language support
Refer to Configure the QBR report language (English, German, or Spanish).
How to...
To create a QBR report template to use as the foundation for future reports, complete the following steps:
- In the top navigation menu, click QBR Report Builder.
- To create a template from a blank slate, click Create Template in the upper-right corner of the page, and then proceed to step 10. Alternatively, to create a template from an existing report, click the row of a report in the Reports tab to open it in the QBR Report Builder.
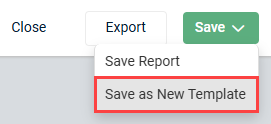
- From the Save drop-down menu in the upper-right corner of the page, select Save as New Template.
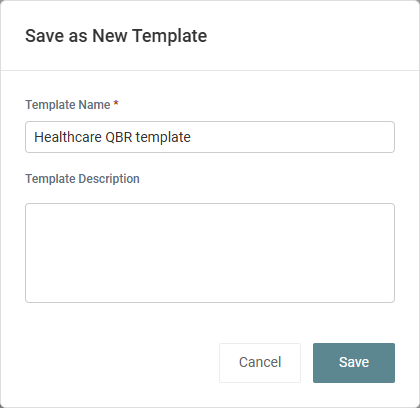
- In the pop-up window, enter a name for the template. This value becomes the default name and cover page title of all reports created from this template, but it can be changed in individual reports.
- Optionally, enter a template description. This value becomes the description that appears on the cover page of all reports created from this template, but it can be changed in individual reports.
- Click Save to add the new template to the list in the Templates tab.
- In the upper-right corner of the page, click Close.
- Click the Templates tab.
- Click the row of the newly created template to open it in the QBR Report Builder.
- Configure the template as required or make any desired changes. For guidance, refer to Customize a QBR report or template cover page and Configure a QBR report template.
- When finished, click Save in the upper-right corner of the page.
After saving, the template is available in the list in the Templates tab, which allows you and other users (with applicable permissions) to edit or copy it any time.
To learn how to create a report from the template you created, refer to Create a QBR report.
To create a QBR report for an organization, complete the following steps:
- In the top navigation menu, click QBR Report Builder.
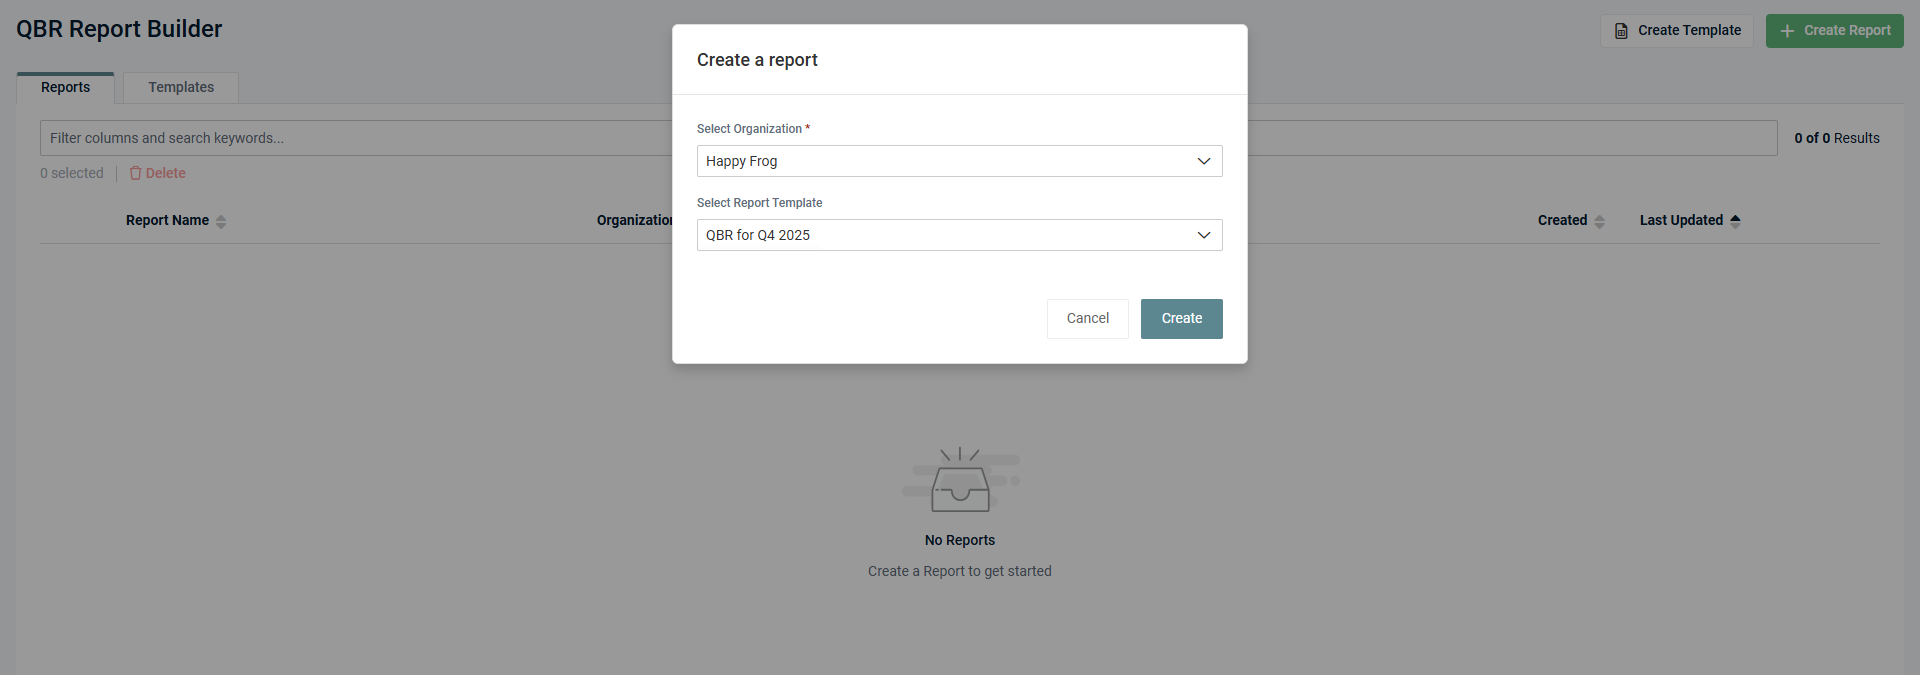
- In the upper-right corner of the page, click Create Report.
- From the Select Organization drop-down menu, select the organization you are creating the report for.
NOTE The organization selected for the report cannot be changed after this step, but the organization name displayed in the report can be customized in the report builder settings.
- From the Select Report Template drop-down menu, select the template you want to use as the foundation for the report you are creating. Refer to Create a QBR report template. Alternatively, to configure the report from a blank slate, leave the Select Report Template field blank.
- Click Create to open the QBR Report Builder.
- Configure the report as required. For guidance, refer to Customize a QBR report or template cover page and Configure QBR report data.
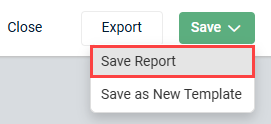
- Once you finish configuring the report, you have the options to save and export it. For your report to be saved in the list in the Reports tab, where you can go to access/edit it in the future, select Save Report from the Save drop-down menu in the upper-right corner of the page. For more details, refer to Save and export a QBR report.
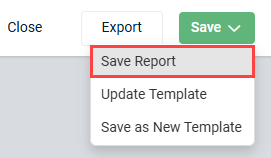
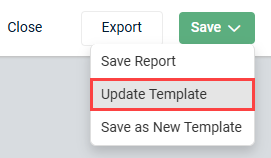
- If you want to apply the changes you have made in this report to the template you used to create it (if applicable), select Update Template from the Save drop-down menu in the upper-right corner of the page.
NOTE If the report was created from a template, some of the predefined sections may require additional attention. If a section relies on a data source that is not connected to the selected organization, the section still appears but displays a warning icon ![]() and relevant warning message.
and relevant warning message.
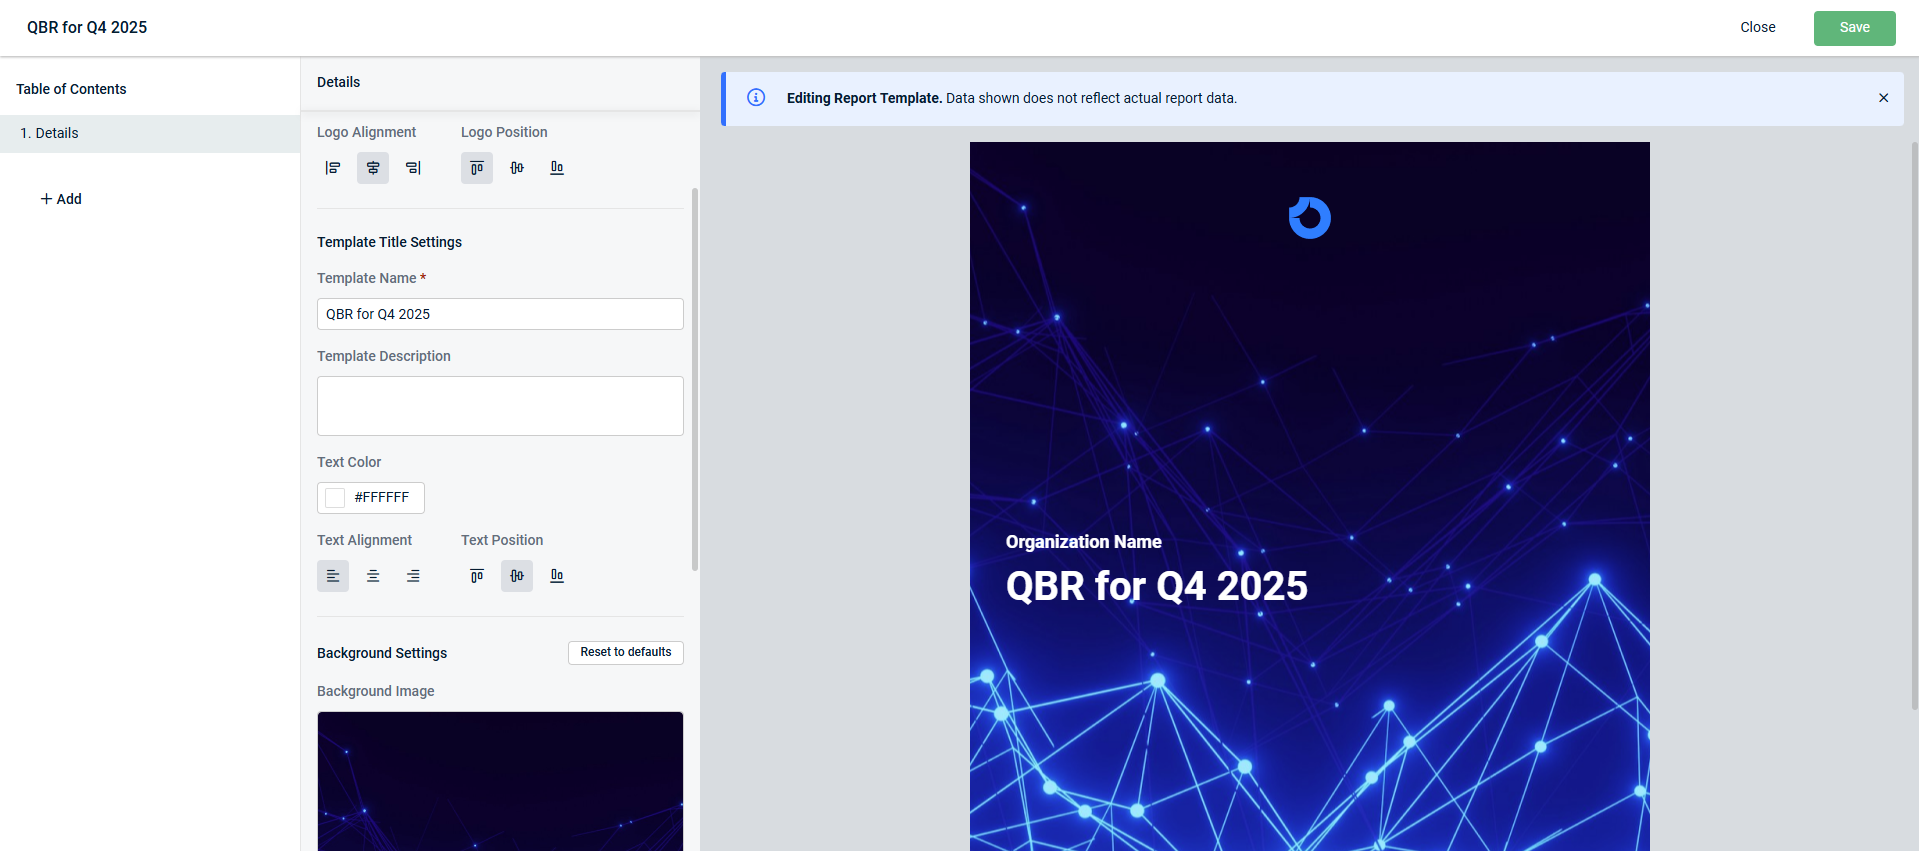
In the Details tab in the QBR Report Builder, you can customize the following cover page elements in reports and templates:
| Field | Reports Cover Page Setting | Templates Cover Page Setting | Reports Description | Templates Description |
|---|---|---|---|---|
| Logo Settings | ||||
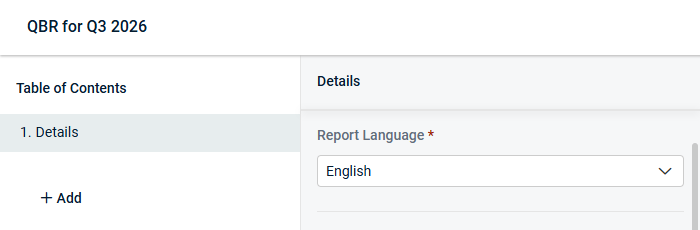
| Report Language |
✓ |
|
Select the language for the report to be generated in. Refer to Configure the QBR report language (English, German, or Spanish). |
— |
| Logo File | ✓ | ✓ | If a logo file is already uploaded in the organization settings, that file is uploaded here by default but can be changed. Refer to v6.5.11.0. The logo appears on the report cover page and in the footer of every page in the report. To upload the organization's logo, the file must be saved to your local device. Click and drag the file into the upload box or click Select a file.
|
In each report created from this template, the logo file uploaded here appears on the report cover page and in the footer of every page in the report. To upload a logo, the file must be saved to your local device. Click and drag the file into the upload box or click Select a file.
TIP If you upload a logo that is appropriate for all reports created from this template, users will not need to update the logo in individual reports. |
| Logo Alignment | ✓ | ✓ | This setting determines the horizontal placement of the logo and corresponds with the selected logo position. Click an alignment option to place the logo on the left side of the page, in the center of the page, or on the right side of the page. | |
| Logo Position | ✓ | ✓ | This setting determines the vertical placement of the logo and corresponds with the selected logo alignment. Click a position option to place the logo at the top of the page, in the center of the page, or at the bottom of the page. | |
| Report/Template Title Settings | ||||
| Displayed Organization Name | ✓ | The name of the selected organization as it exists in myITprocess is populated by default but can be removed or edited. This value appears above the report name (title) on the cover page. NOTE If you leave this field blank, the organization name is not displayed on any page of the report unless it exists in other fields or data. |
— | |
| Report Name | ✓ | The default report name is New report. Edit this field to customize the report name (for example, "Quarterly Business Review for Q4 2025"). This value appears as the cover page title. |
— | |
| Report Description | ✓ | Optionally, enter a description. This value appears below the report name (title) on the cover page. |
— | |
| Template Name | ✓ | — | The default template name is New template. Edit this field to customize the name of reports created from this template (for example, "Quarterly Business Review for Q4 2025"). This value appears as the cover page title. TIP If you enter a name appropriate for all reports created from this template, users will not need to update the name in individual reports. |
|
| Template Description | ✓ | — | Optionally, enter a description. This value appears below the report name (title) on the cover page of all reports created from this template. TIP If you enter a description appropriate for all reports created from this template, users will not need to update the description in individual reports. |
|
| Text Color | ✓ | ✓ | Apply a text color to the displayed organization name, report name, and report description by selecting a color from the color wheel, entering RGB values, or entering a HEX code. Click OK to apply the color. | Apply a text color to the organization name, report name (derived from the template name), and report description (derived from the template description) that appear in all reports created from this template. To do so, select a color from the color wheel, enter RGB values, or enter a HEX code. Click OK to apply the color. NOTE The organization name is populated once a report is created for a selected organization. The template shows the text Organization Name as a placeholder. |
| Text Alignment | ✓ | ✓ | This setting determines the horizontal placement of the displayed organization name, report name, and report description and corresponds with the selected text position. Click an alignment option to place the text on the left side of the page, in the center of the page, or on the right side of the page. |
This setting determines the horizontal placement of the organization name, report name (derived from the template name), and report description (derived from the template description) that appear in all reports created from this template. This setting corresponds with the selected text position. Click an alignment option to place the text on the left side of the page, in the center of the page, or on the right side of the page. |
| Text Position | ✓ | ✓ | This setting determines the vertical placement of the displayed organization name, report name, and report description and corresponds with the selected text alignment. Click a position option to place the text at the top of the page, in the center of the page, or at the bottom of the page. |
This setting determines the vertical placement of the displayed organization name, report name (derived from the template name), and report description (derived from the template description) that appear in all reports created from this template. This setting corresponds with the selected text alignment. Click a position option to place the text at the top of the page, in the center of the page, or at the bottom of the page. |
| Background Settings | ||||
| Background Image | ✓ | ✓ | Optionally, upload a background image to fill the entire cover page and replace the default wave pattern. Click the upload box or Select a file to select an image to upload from your local device.
Clicking Reset to defaults restores the default wave pattern. Clicking Remove removes any background and produces a white cover page. |
|
| Blur | ✓ | ✓ | To blur the background image, enter a blur percentage or click the + or - signs until you reach your desired level of blur. | |
Once you finish customizing the cover page as desired, click Save (or select the applicable action from the Save drop-down menu) in the upper-right corner of the page.
Examples
Report cover page settings

Template cover page settings
By default, all reports for all organizations are generated in the language selected in the General tab on the Account Settings page. Refer to General in Configuring global account settings.
As required, you can change the language per report in each report's Details tab. From the Report Language drop-down menu, select one of the currently supported languages:
- English
- German
- Spanish
Supported system-generated content is automatically translated based on the selected report language, including the following:
- System-generated labels and headings.
- Boilerplate text in supported templates.
- Executive Summary sections and widgets.
Text and uploaded files added by users are not translated by the system and will appear in the report output exactly as entered. This includes business analysis, descriptions, notes, PDFs, and other custom content.
When you preview, export, or print the report, supported system text is automatically displayed in the selected report language.
BEFORE YOU BEGIN To learn how to enter the QBR Report Builder to configure a template, refer to Create a QBR report template or Edit a QBR report template.
When building a template in the QBR Report Builder, keep the following in mind:
- All of the reports you create from the template inherit the sections you add, including their names, order, and configurations.
- The data displayed is sample data. It does not represent actual organization data and should not be considered an exact preview of how the data will appear in reports created from the template.
When you create a report from the template, you will select the organization the report is for. The sections configured in the template will populate with that organization’s data in the report. - In any report generated from a template, users will be able to modify or delete any of the sections derived from the template.
You have the option to add a number of different types of data to appear in reports you create from a template.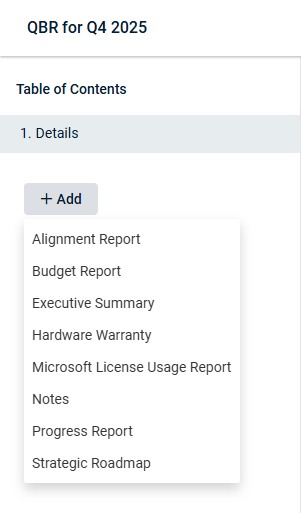
The following section elements are not configured in templates and must be configured in individual reports after the organization is selected:
- Data time frames (fields such as Date, First Date and Second Date, and Start On) in all sections other than Executive Summary, which requires you to select a module and date range within the template.
- Organization categories (the Categories drop-down menu).
- PDFs (the Upload PDF section).
For section descriptions and configuration instructions, refer to Sections/data types and Organizing and customizing the report sections.
BEFORE YOU BEGIN To learn how to enter the QBR Report Builder to configure report data, refer to Create a QBR report or Edit a QBR report.
You have the option to add a number of different types of data for the selected organization to the report.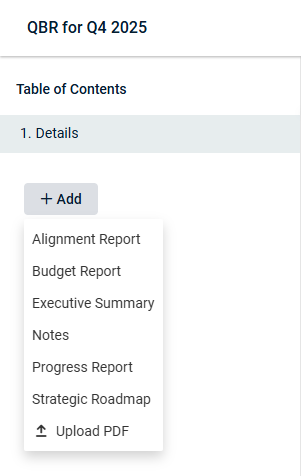
The exported report presents organization data on individual pages in the order specified in the QBR Report Builder, with each section appearing as a page title.
Include as many sections as needed to support your business goals. You have the option to add the same section multiple times, each with different settings, to highlight data in different ways.
Sections/data types
You can add the following sections to the report by clicking Add in the Table of Contents pane:
- Alignment Report: Provides MSPs with insight as to how the technology alignment process is uncovering risks in their environment.
- Budget Report: Displays the organization's budget details, including an overview, breakdown by initiative, and breakdown by quarter.
- Executive Summary: Surfaces data from other Kaseya modules the organization exists in.
- Hardware Warranty reporting: Provides MSPs clear visibility into the status of all client devices, identifies aging hardware, justifies asset replacement budgets, and presents actionable insights for quarterly business reviews.
- Microsoft License Usage Report: Ensures MSPs' client accounts are properly licensed and identifies gaps.
-
NOTE This section does not appear in the list if your account does not have KaseyaOne Unified Login enabled.
- Notes: Helps MSPs bridge the gap between technical data and executive understanding by adding human context, strategic insights, and clarity to every report.
- Progress Report: Compares an organization's environment over time.
- Strategic Roadmap: Provides a yearly view of an organization's roadmap, divided into four quarters.
NOTE This section does not appear in the list if your account does not have at least one of the following integrations set up: Cisco Meraki, Datto Networking, IT Glue, or SonicWall.
Uploading custom PDFs
You can upload up to 10 PDF documents that include your own customized data, which will appear as part of the report pages. In the Table of Contents pane, click Add > Upload PDF to select a PDF from your device to add to the report.
Organizing and customizing the report sections
To change the order in which sections of data are displayed in the report, click and drag a section in the Table of Contents pane to your desired placement. The Table of Contents is displayed as the first page in the exported report (after the cover page) and allows readers to click a section name to jump to that page of the report.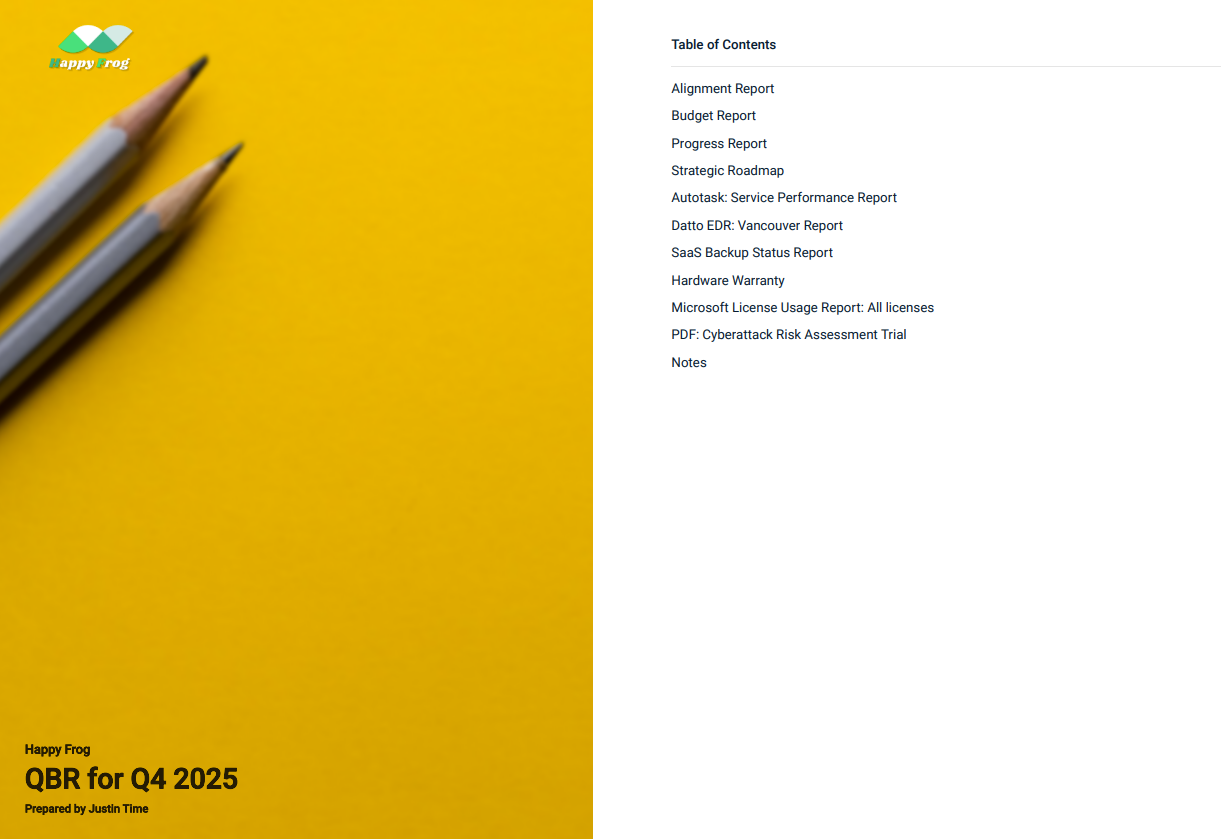
To change any of the default section names to custom names, hover over a section in the Table of Contents pane and click the pencil icon ![]() . In exported reports, the section names appear in the Table of Contents and as page titles at the start of each section.
. In exported reports, the section names appear in the Table of Contents and as page titles at the start of each section.
To delete a section, hover over it and click the trash can icon ![]() . In the confirmation pop-up window, click Delete.
. In the confirmation pop-up window, click Delete.
In the QBR Report Builder, the report cannot be saved or exported until all required fields are populated. A warning icon ![]() is displayed for sections that require additional configuration.
is displayed for sections that require additional configuration.![]()
Once you finish configuring the report, select Save Report from the Save drop-down menu in the upper-right corner of the page. The report is added to the list in the Reports tab, which allows you and other users (with applicable permissions) to edit or copy it any time.
To export the report containing your configured data in the design you customized, click Export in the upper-right corner of the page. The finished report is automatically downloaded to the default download location on your device and is ready for sharing.
NOTE The export option is also available in the Reports tab. Refer to Export a saved QBR report from the list of reports.
To close out of the QBR Report Builder after saving the report, click Close in the upper-right corner of the page.
In the Templates tab on the QBR Report Builder page, click the row of the template you want to edit to open the QBR Report Builder. After making any changes, click Save in the upper-right corner of the page. Then, click Close. Edit activity is reflected in the Last Updated column in the Templates tab.
The option to update a template is also available within a report that was created from that template. After making changes to that report, select Update Template from the Save drop-down menu in the upper-right corner of the page.
NOTE Changes to a template do not affect reports that were previously created using that template.
In the Reports tab on the QBR Report Builder page, click the row of the report you want to edit to open the QBR Report Builder. After making any changes, select Save Report from the Save drop-down menu in the upper-right corner of the page. Then, click Close. Edit activity is reflected in the Last Updated column in the Reports tab.
To create a copy of an existing template, click the copy icon ![]() at the end of the applicable template row in the Templates tab. The copy is automatically created and appears in the list of templates, where you can select it and make any necessary edits. The following occurs when a template is copied:
at the end of the applicable template row in the Templates tab. The copy is automatically created and appears in the list of templates, where you can select it and make any necessary edits. The following occurs when a template is copied:
- The copy is named (Copy #) Template Name by default. # is the ordinal number of the copy if the template has been copied multiple times, and Template Name is the name of the original template. You can change the name by opening the copied template and editing the Template Name field.
- The Created By user is the user who created the copy.
Copying an existing report is an efficient way to replicate an existing reporting structure and QBR narrative for a new time period. To create a copy of an existing report, click the copy icon ![]() at the end of the applicable report row in the Reports tab. The copy is automatically created and appears in the list of reports, where you can select it and make any necessary edits. The following occurs when a report is copied:
at the end of the applicable report row in the Reports tab. The copy is automatically created and appears in the list of reports, where you can select it and make any necessary edits. The following occurs when a report is copied:
- The copy belongs to the same organization as the original report, and the organization cannot be changed.
- The copy is named (Copy #) Report Name by default. # is the ordinal number of the copy if the report has been copied multiple times, and Report Name is the name of the original report. You can change the name by opening the copied report and editing the Report Name field.
- The Created date reflects when the copy was created.
- The Owner is the user who created the copy.
To export a report containing your configured data in the design you customized in the QBR Report Builder, click the export icon  at the end of the applicable report row in the Reports tab. The finished report is automatically downloaded to the default download location on your device and is ready for sharing.
NOTE This option is also available within the QBR Report Builder. Refer to Save and export a QBR report.
The following actions are available to delete reports in the Reports tab or to delete templates in the Templates tab.
NOTE Deleting a template does not affect reports that were previously created using it.
To delete a report or template, click the trash can icon ![]() at the end of the applicable row, and then click OK to confirm the deletion.
at the end of the applicable row, and then click OK to confirm the deletion.
To delete reports or templates in bulk, select the checkboxes next to the items you want to delete, and click Delete in the upper-left corner of the page. To select all reports or templates at once to delete, select the checkbox in the list header.


